Inside the tank are two bolts holding the tank on to the base. Unscrew these two bolts and carefully lift faucet replace the tank from the base. Remove tank to the trash.
62. If the ignition key fails to return to its correct position once the engine starts the solenoid will stay engaged and then heat up. Lubricate the switch throughout water line repair the season.
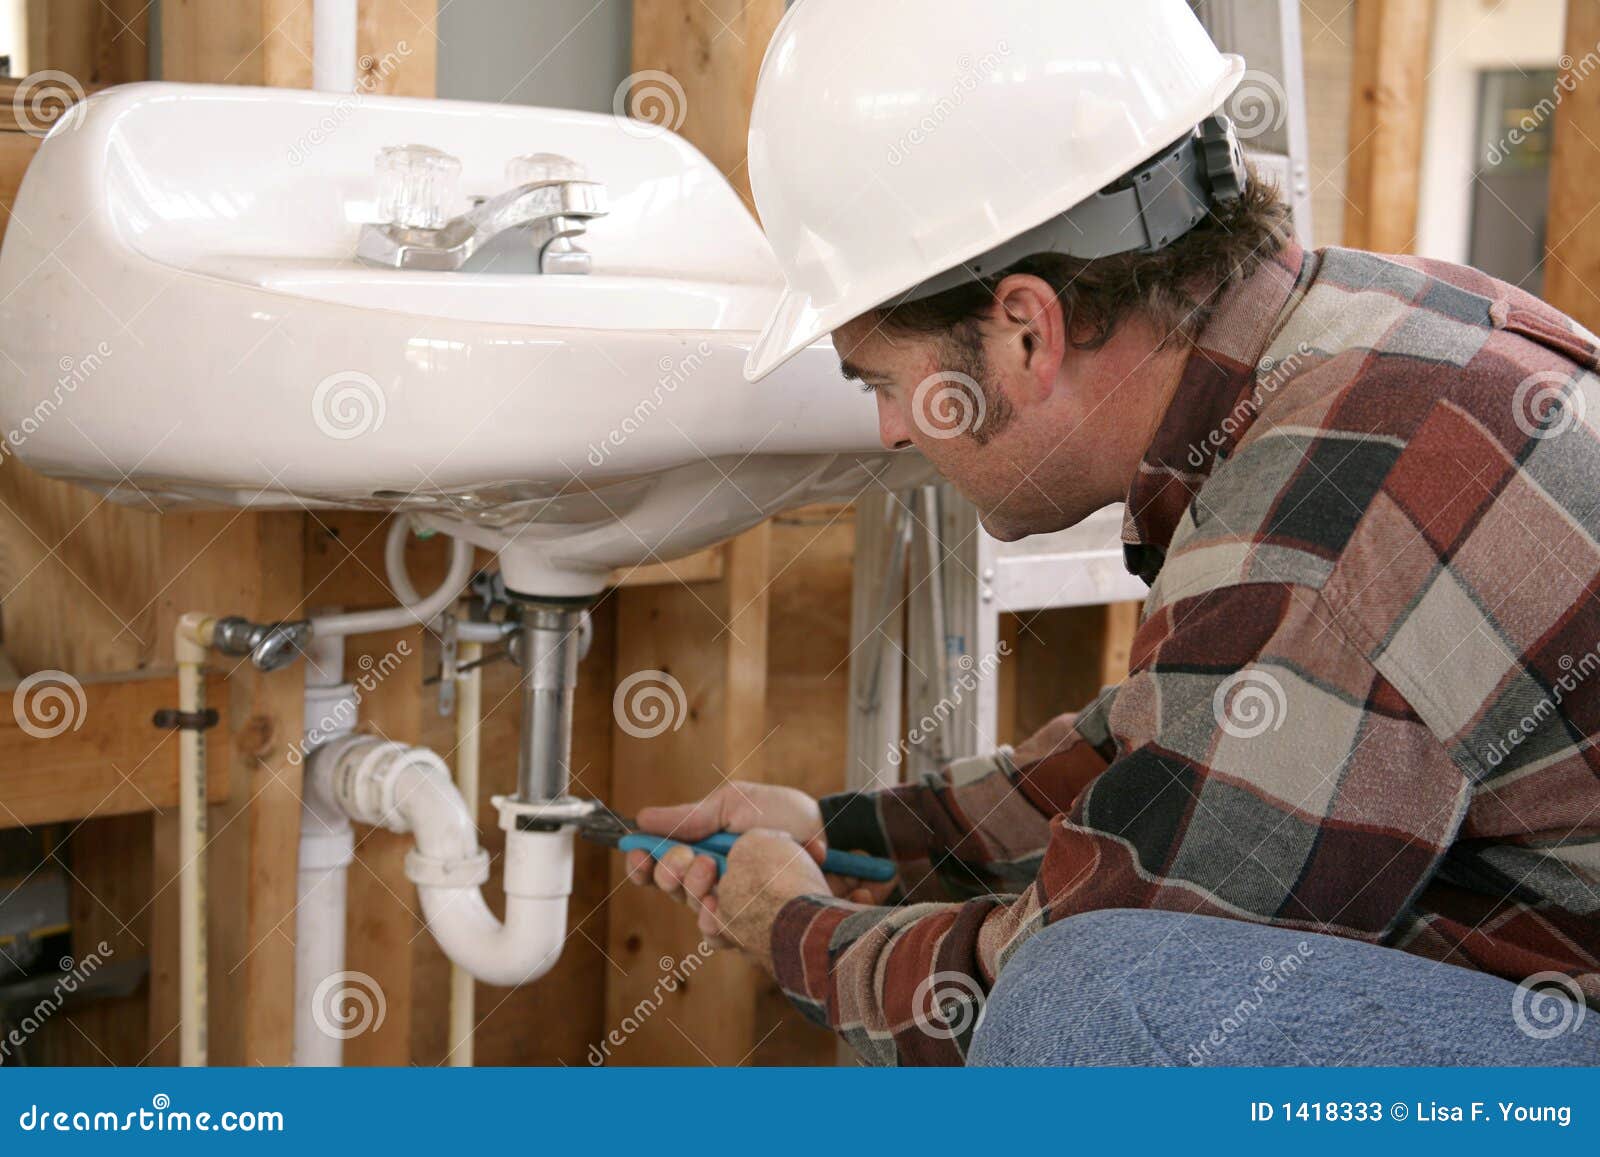
The first thing you need to do after leakage starts is to shut the water supply before you remove the faucet. You can either shut the valve in the sink or the main valve of your home. After that ensure that the water in the water line is drained and also the air pressure s released. This will also help in saving a lot of water that might have been wasted due to the leakage.
3) Call the first one you see and give them the job. It is okay to ask plumbers for an initial estimate. If you live in a large, urban area chances are you will have many choices. Don't feel as though you need to hire the first person you contact. Get the information you need, then comparison shop. Check websites and social media accounts to get a feel for how everybody stacks up. Then make the final call.
Investigate the plumber's reputation. Ask a neighbor before starting your search or check online for customer reviews. Call the Better Business Bureau or your city to ask about any complaints on file against this company. Finally, ask the plumbing company for references from customers. If they are reluctant to provide references water line repair call another plumber.
And the way to know what's sufficient? Well, until the work is done an the bill paid you won't know for certain, but this is the best that can be suggested and normally works very well.
Re-coat the RV roof every two years. There are a several products for re-coating your RV's roof. Many will products recommend to re-coat every year, but it's not necessary, every two years is perfectly fine. A great affordable option is Camco RV Pro-Tec Rubber Roof Care System.